Cutting strings of pixels to shorter lengths or attaching new pixels or connectors isn’t particularly challenging but does require some soldering and patience. We used 3mm heat shrink tubing to make a weather tight seal for each of the three wires and then a larger 8mm heat shrink tube around the joint to bundle the wires together and add an extra level of protection. Heat guns are available on Amazon for about $20 and we got all of the heat shrink tubing we will ever need for about $30 total, also on Amazon.
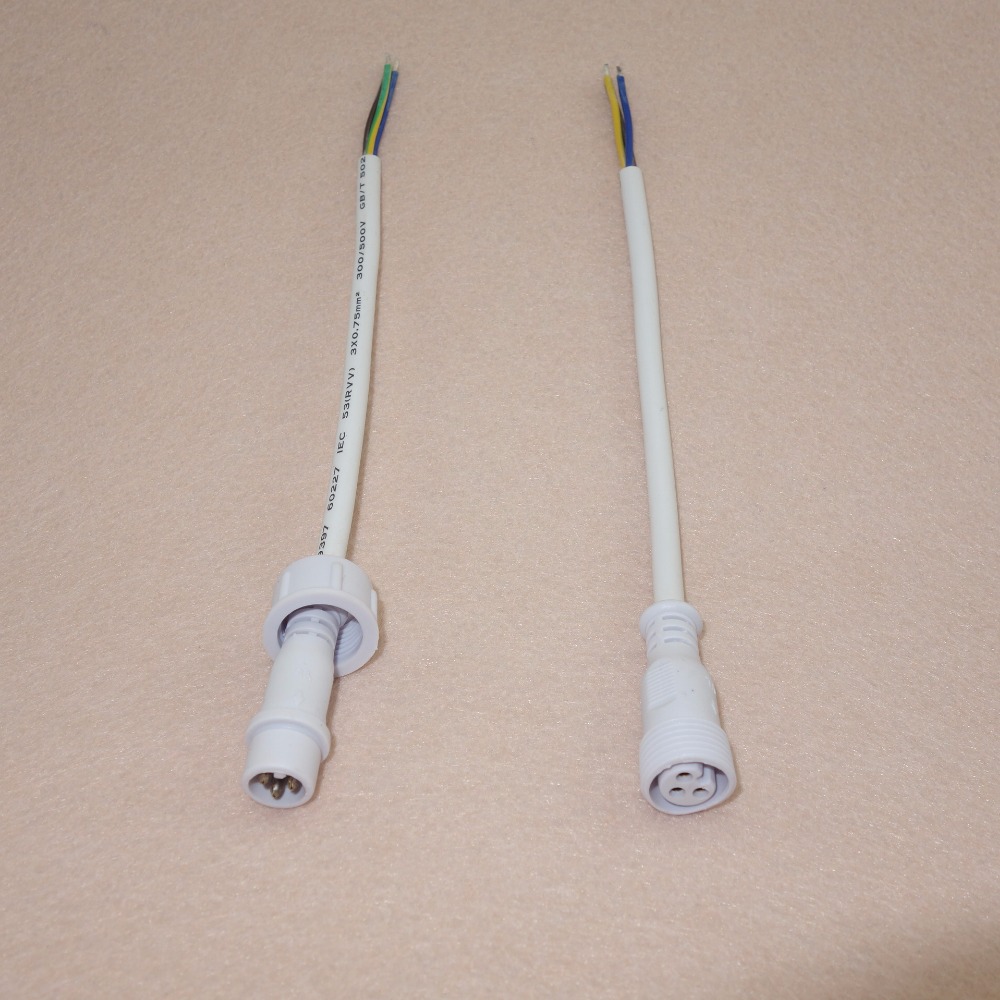
Note: we did find that one of our extra connectors had the wire colors for the data and ground pins reversed. In our case, nothing was damaged by the miswiring but we did have to undo the connection and fix it. It is probably worth verifying the wire-to-pin relationship for each connector before soldering it in place to make sure a manufacturing defect doesn’t cause you to burn up some pixels.
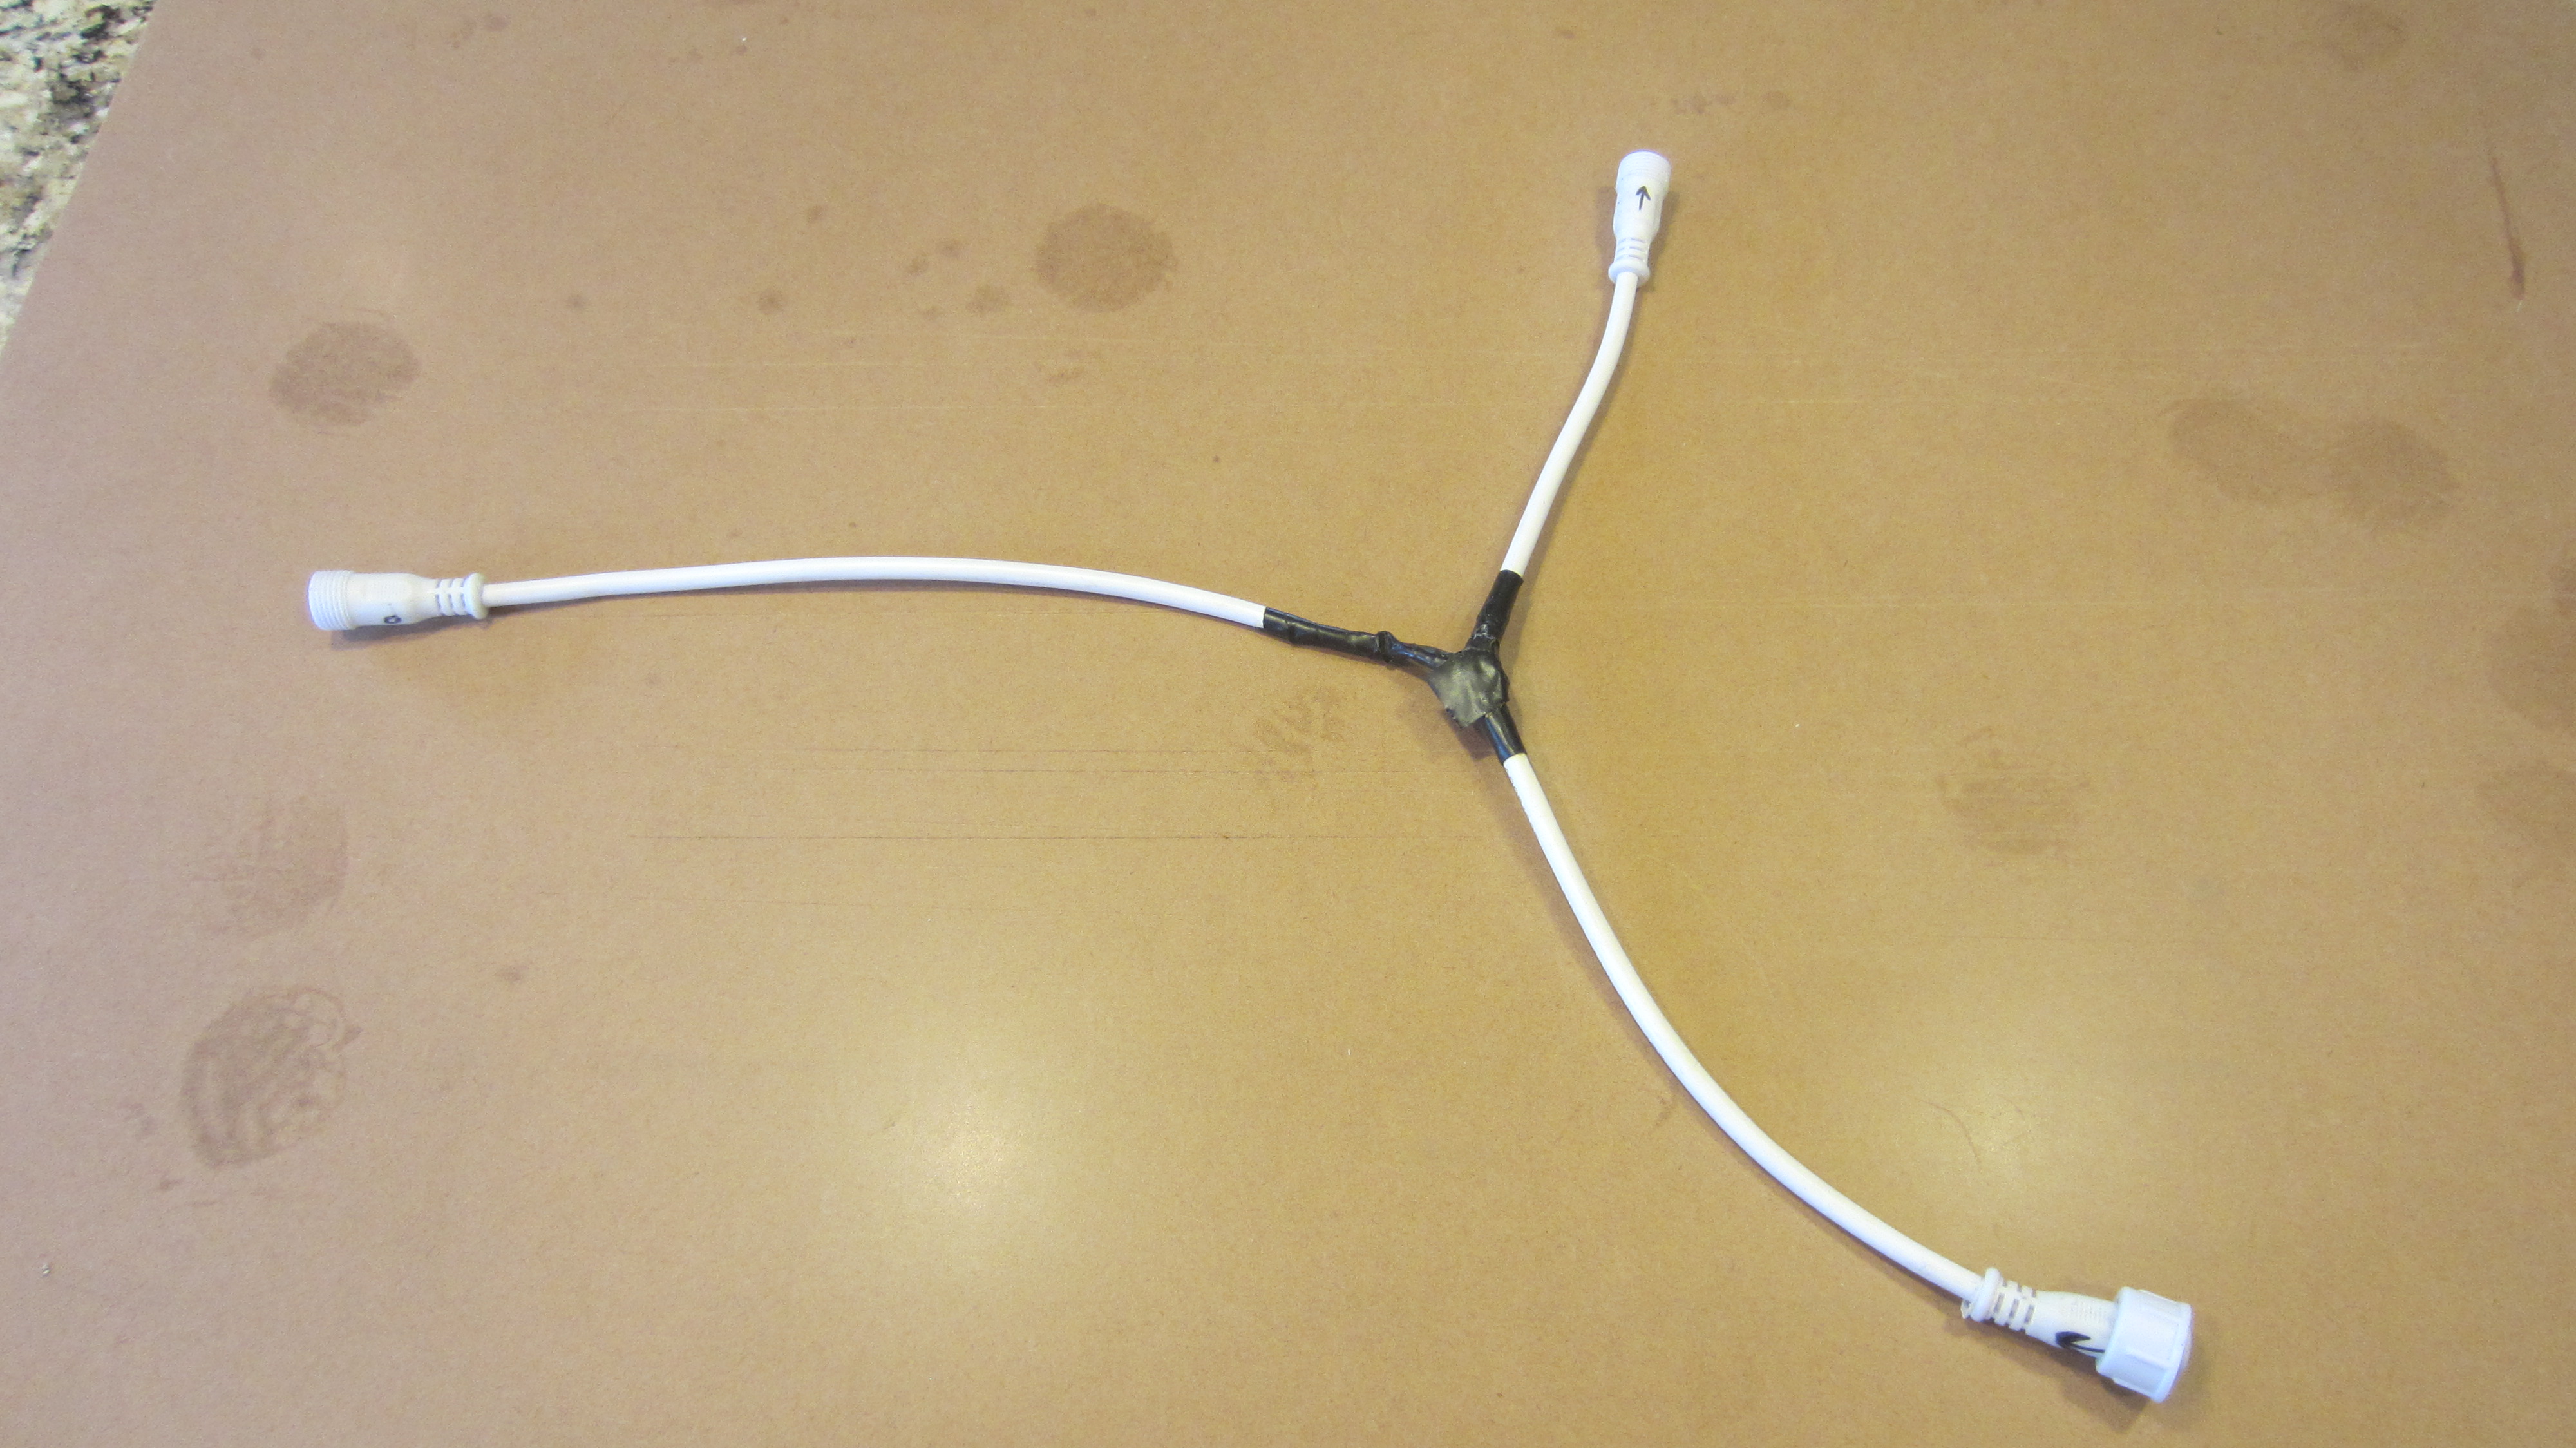
For power injection, Ray Wu sells T-shaped connectors. Since we had extra connectors on hand and not a lot of time, we instead opted to make our own as show below. In retrospect, it’s probably worth just buying the T connectors already manufactured. Make sure when buying connectors that you have the correct number of pins. The pixel strands require 3 pins but the power injection line really only needs two since it has no data signal. We used 3 pin connectors everywhere and just didn’t connect the data line from the injection lead. We also made sure to label the homemade T connectors to show the direction of data travel with arrows and to mark the power injection lead with a “P”.
For the wiring from the pixel controller to each universe, we used outdoor rated 18-gauge, 3-conductor cable that we purchased online. For power injection, we used both outdoor rated 18-gauge, 2-conductor cable as well as a handful of 16-gauge and 14-gauge outdoor extension cords for some of the longer wire runs. See the page on power injection for the details on what we learned with power injection and running 12V DC power across long distances. Spoiler alert: we have a lot of wire running across our roof.
Most of our extension cords were purchased from Harbor Freight one at a time using their frequent 20% or 25% off “super coupons”. It’s a bit tedious to have to go back every day but worth it for the savings. It goes a bit quicker if you can have multiple go and each do a separate transaction. We purchased our other wire from an online store called Wire N Cable, which a year later appears to no longer exist. Hopefully the descriptions are sufficient.
Control lines: Cerrowire 282-1003G1 250-Feet 18/3 SJOOW Rubber Flexible Cord, Black
Power Injection lines: Cerrowire 282-1002G1 250-Feet 18/2 SJOOW Rubber Flexible Cord, Black
