NOTE: starting in 2017, we replaced these with the window light boxes, which give a cooler version of the same effect and have far less impact on our ability to live life in our house during December.
One of the key elements that sets our show apart from most others we have seen in person or online is our use of back lighting in the three windows on the front of our house. We use relatively inexpensive LED stage lights that we bought on Ebay for about ~$50 each 4 years ago. These are DMX-controlled, 188 LED RGB lights from DJ Light Supply, though there are a bunch of equivalent products on the market.
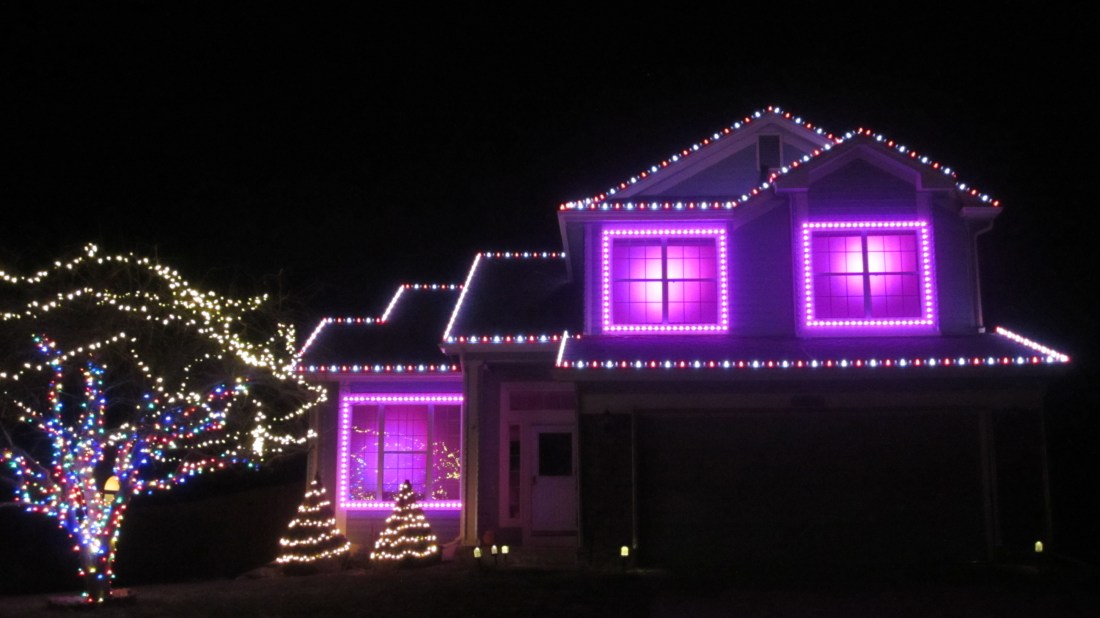
We hung translucent shower curtains in our three front facing windows and positioned these light fixtures across the room on top of a desk or on some stacked boxes or even clipped to the clothing rod in our guest room closest so that the light would spread to fill the entire window. This setup works very well but has several downsides. Most importantly, we cannot turn on the room lights in any of these rooms because they will wash out the effects. Similarly, we have to be careful about walking through the light beam or else we will cast shadows on the curtain that can be seen from outside.
In our first year, we used a USB-to-DMX converter that plugged into a USB port on the Raspberry Pi and outputted standard RS-485 DMX on 3-wire microphone cable. One year of a long (and very finicky) cable running across the room and up the staircase taught us that fragile cables and 2 dogs do not go together well. As such, we decided to improve the setup by going wireless for the wash lights.
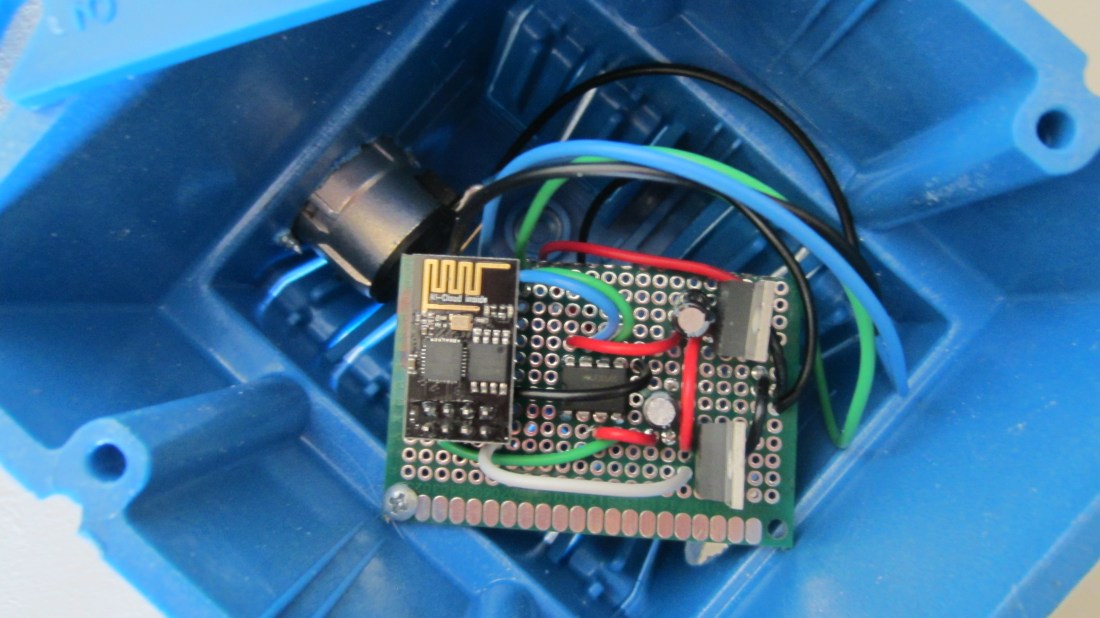
With just a handful of components, we were able to build a board that receives E1.31 (DMX over Ethernet) over Wi-Fi and converts that data to traditional RS-485 DMX. The electronics fit into a 2-gang electrical box very nicely and the total cost for each one is about ~$15. We then ran a short microphone cable between the output of those electronics and into the wash light. We have not been able to see any lag or difference in timing using Wi-Fi for this and not having cables run all over the house is amazing!

Instructions and source code for building this converter are available for free on Github. The heart of the setup is an amazing little component we discovered over the last year called the ESP8266. This is a cheap (we’ve gotten them as low as $4 a piece) circuit board that includes full Wi-Fi capability with an onboard antenna. It has a small processor onboard that can be programmed just like an Arduino and we are starting to use these all over the house for various DIY Internet of Things (IoT) needs.