One of the things that inspired us the most about Matt Johnson’s display on YouTube was the precision with which he mounted his pixels. Every bulb was spaced perfectly and all lines were straight as an arrow. In our opinion, it makes a huge difference in the appearance of the show when these types of details are handled precisely. Somewhat to our dismay, Matt’s helpful how-to videos did not talk at any level of detail about how he had achieved this precision or the spacing he used so we had to figure it out on our own.
For pixels on the roof lines, we mounted them to sections of J-channel. This comes in lengths of 10.5 feet and can be easily cut to smaller sizes using a jigsaw, hacksaw, or an angle grinder (and cleaned up with a metal file to remove burs). The J-channel works well because the pixels can be attached to the “loop” part of the J and the long section of the J can be clamped to the edge of the shingles.

At our local Home Depot, a 10.5 foot section of J-channel cost about US$8.00. Our store only stocks about 5 sections of it at a time so we had to place a special order. Fortunately, Home Depot allows free returns for things ordered online that they stock so we estimated high and just returned the unused pieces.

We used tiny pinch clamps ($0.33 a piece at Home Depot) to clip the J-channel to the shingles. Make sure you use at least 4 clamps for a 10.5 foot length if you live in a windy area. We underestimated the wind strength in Colorado and found ourselves on the roof on Christmas afternoon reattaching several sections that had blown off in the high winds and were dangling from the wiring. Nothing was permanently damaged but for a few C9 bulbs, but we could have easily prevented the problem by using an extra pinch clamp here and there. Earlier in the year while we were testing things out, we had a section blow off the edge of the roof and fall 20 feet to our garden below. The pixels survived just fine, but we broke a few C9 bulbs and the J-channel was so badly mangled we had to replace it.

For pixels on the face of the house and on the roof ridgelines, we mounted the pixels to hat channel. This comes in 10 foot lengths and is easy to cut to smaller lengths. The hat channel is only about US$4.00 for a 10 foot section and is a bit stiffer and easier to handle than the J-channel. For the roof ridgelines, we used 4 of the pinch clamps to hold the flange of the hat channel to the shingles.


For the face of the house, one or two screws into the wood siding was sufficient. We fill the holes with caulk and touch up the paint each year when we take down the lights to prevent any water-related issues.

All of the pixels on our house are at 4 inch spacing on center, except for a handful that are slightly different as necessitated by the house dimensions. For example, the first and last pixels on the lower garage roof are actually at 5 inch spacing and some of the places where a slanting roof line meets the peak of the roof are spaced a bit more or less as needed. Fortunately, any spacing discrepancies are harder to detect visually whenever the angle of two adjacent lights is different, such as at many corners.
We attached the pixels to the mounting rails using two 4″ zip ties per pixel. These fit nicely into the notches on the pixel and seem to give a sufficient level of attachment while still being very easy to remove if needed. We anticipate them wearing out eventually due to UV exposure and cold weather, but hopefully they will last several years and they are very cheap to replace.
For the J-channel, we drilled two 1/8 inch holes per pixel for the zip ties. For the hat channel, we drilled four 1/8 inch holes per pixel. Since we don’t have a drill press, we drilled all 3600 or so holes (!!!) using a cordless drill. We made templates out of flat metal to ensure the holes were drilled correctly. The templates aren’t perfect but they were accurate enough for this purpose and any slight spacing issues are so small as to be undetectable visually. The ends of the hat channel tend to splay outward under the pressure of a drill so be careful when clamping the material down or pushing too hard. The J-channel didn’t have this issue, but we found putting a scrap block of plywood nested into the J helped during drilling. The biggest issue from our imperfect templates is that some of the zip ties fit a bit too snuggly against the pixels and were hard to attach. While aluminum is easier to use for a template, keep in mind that the template holes will tend to widen with usage since it is much softer than the drill bit.

On a related note, threading and tightening 2400 zip ties by hand is a tedious and eventually painful process. As time went on, Phil’s fingertips got pretty destroyed with lots of little cuts and abrasions. A small pair of needle nose pliers can be a godsend to the fingers when tightening down the zip ties. It also took the better part of 6 months before we stopped finding the cutoff ends of zip ties buried in our carpet despite numerous vacuumings!
Make sure to mark each metal section with the correct name from the wiring diagram and to annotate left/right or top/bottom if the orientation isn’t obvious (J-channel is obvious, hat channel is less so). We didn’t do this as well as we should the first time around and had to spend extra time when setting up in 2017 to figure out what went where and do a bit of relabeling. Having a good diagram (see Preparing for the Adventure for ours) and naming/numbering scheme makes it much easier to keep track of things.
Cable Management
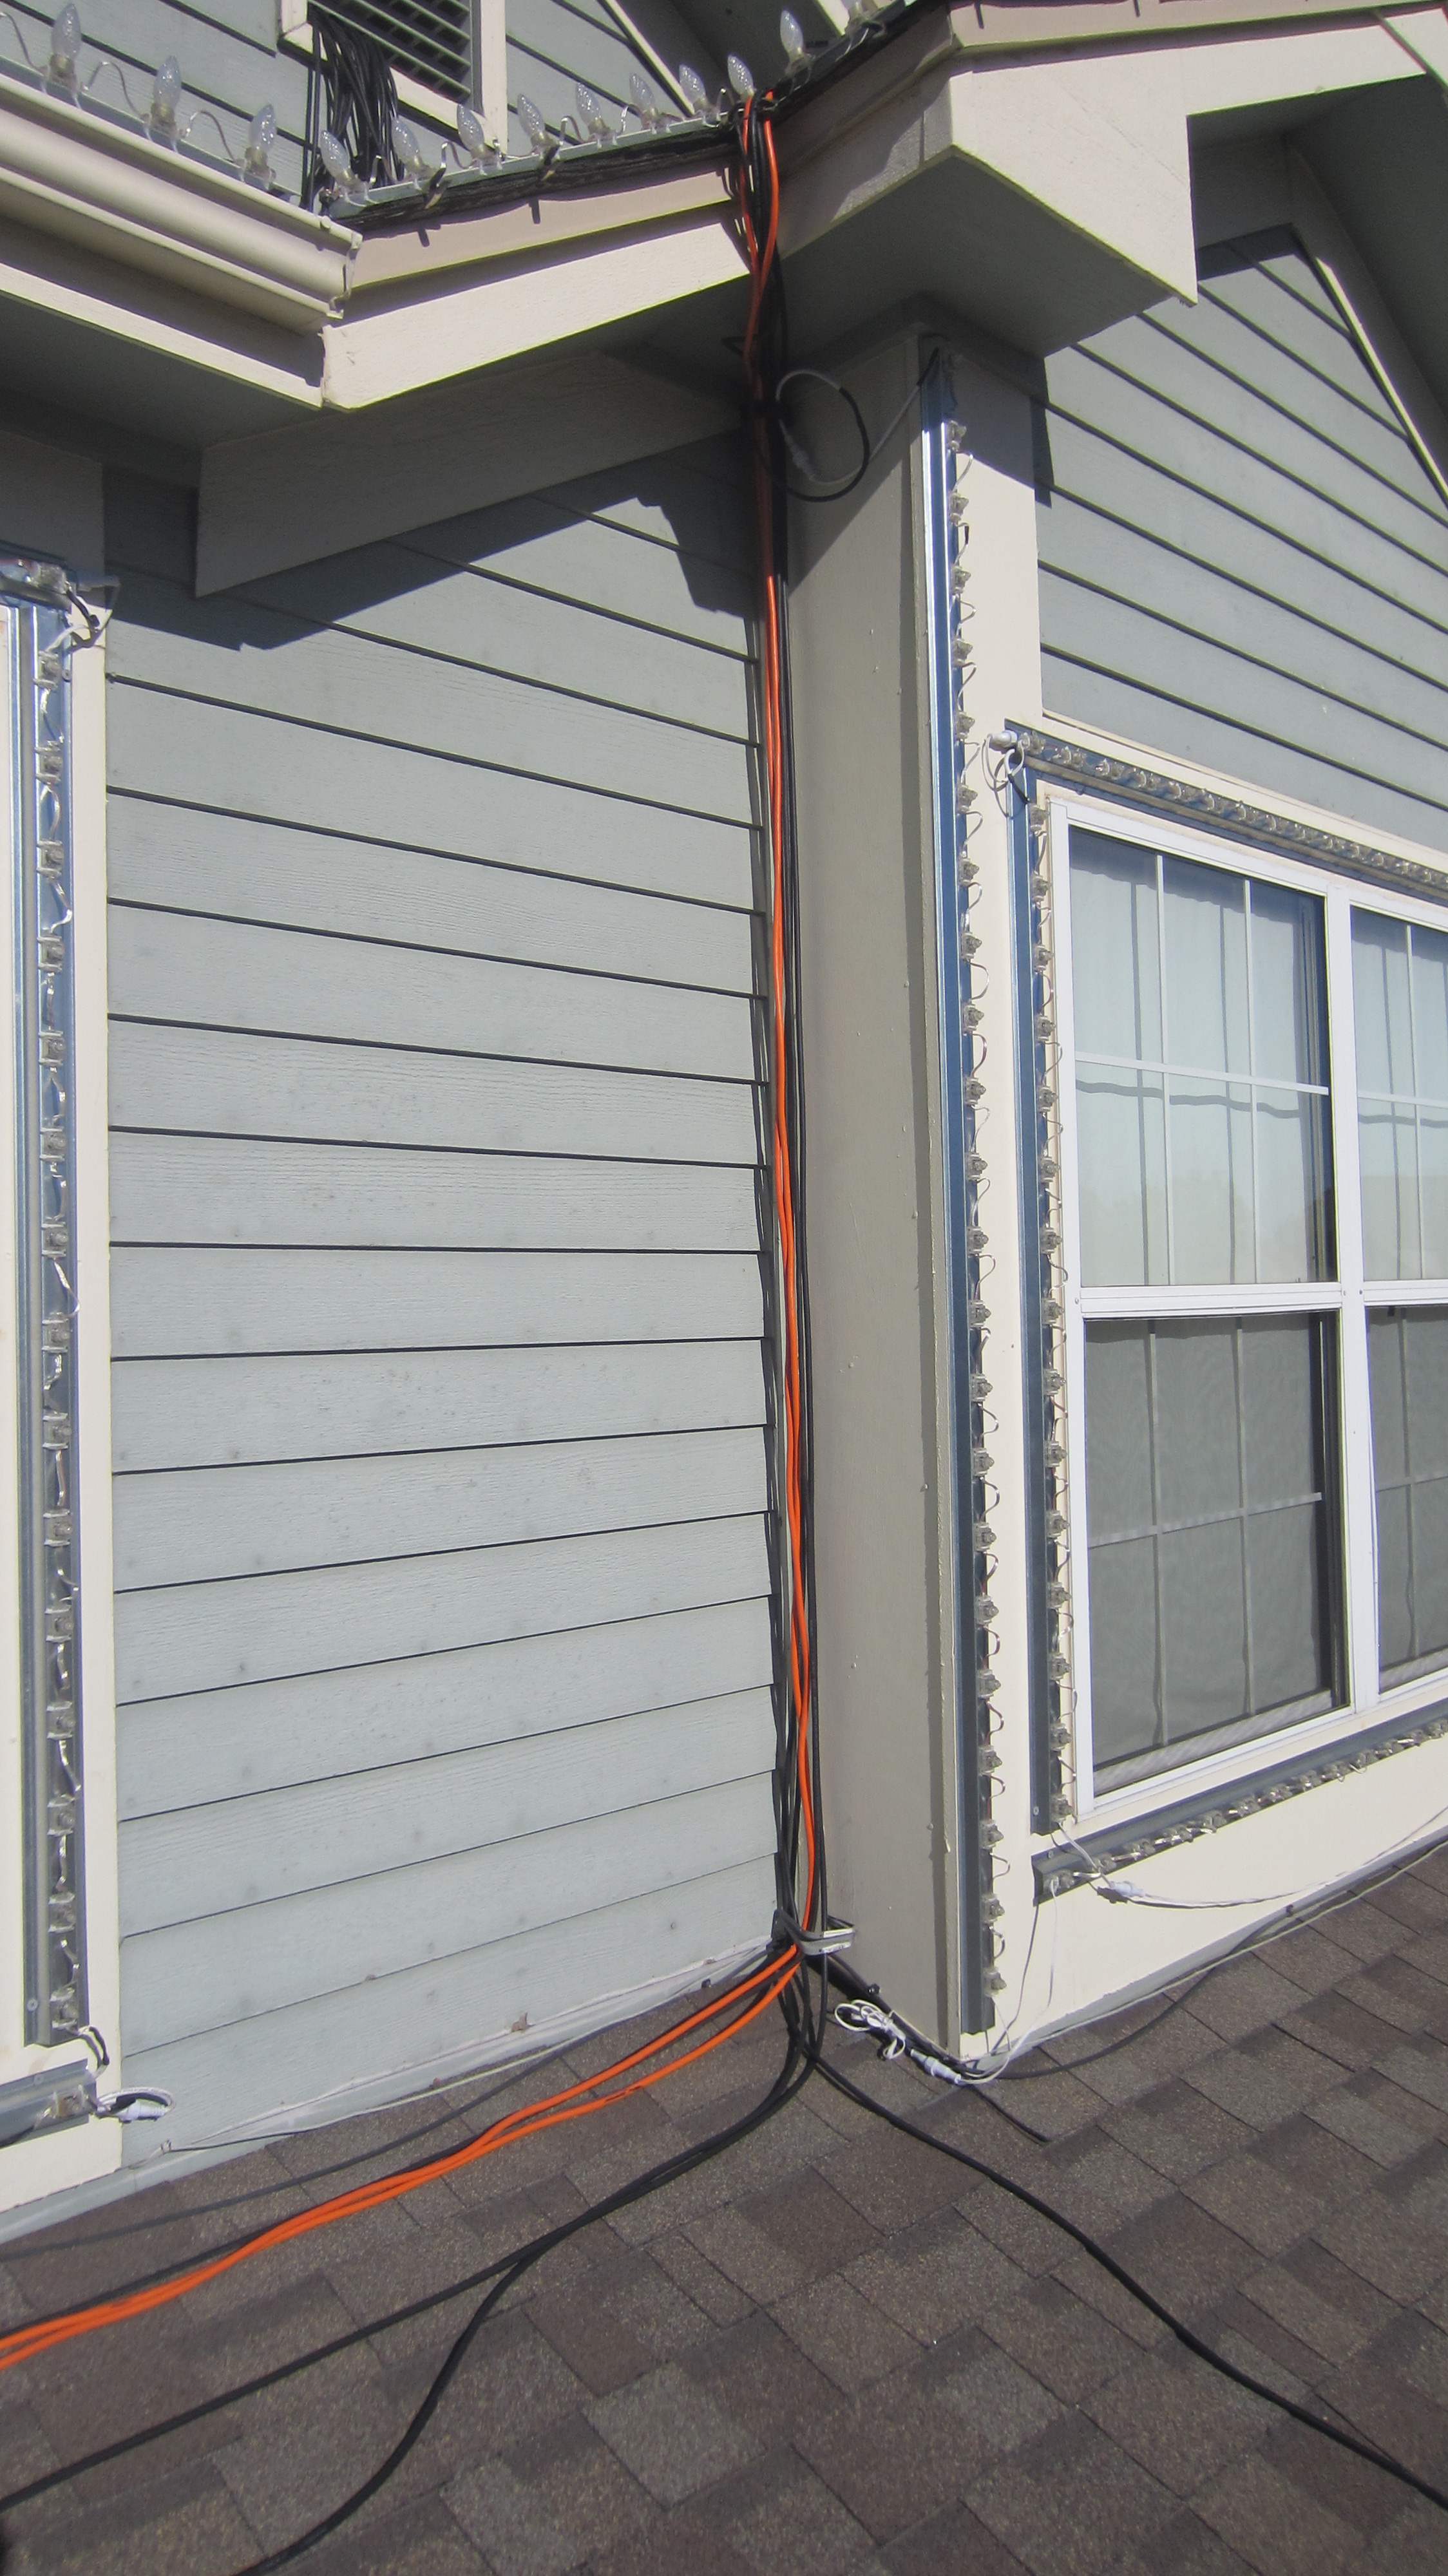
A reality of doing Christmas lights like this is that you will have to deal with a lot of cables running all over the house. We tried to lay things out as logically as possible to minimize the amount of extra wire, but there’s only so much that can be done. It gets even worse when you need power injection to distant sections of your display, necessitating even more cables running long distances.
We do our best to route the cables in groups and to hold them as tight to the roof or house as possible to minimize how much they are seen from the street.