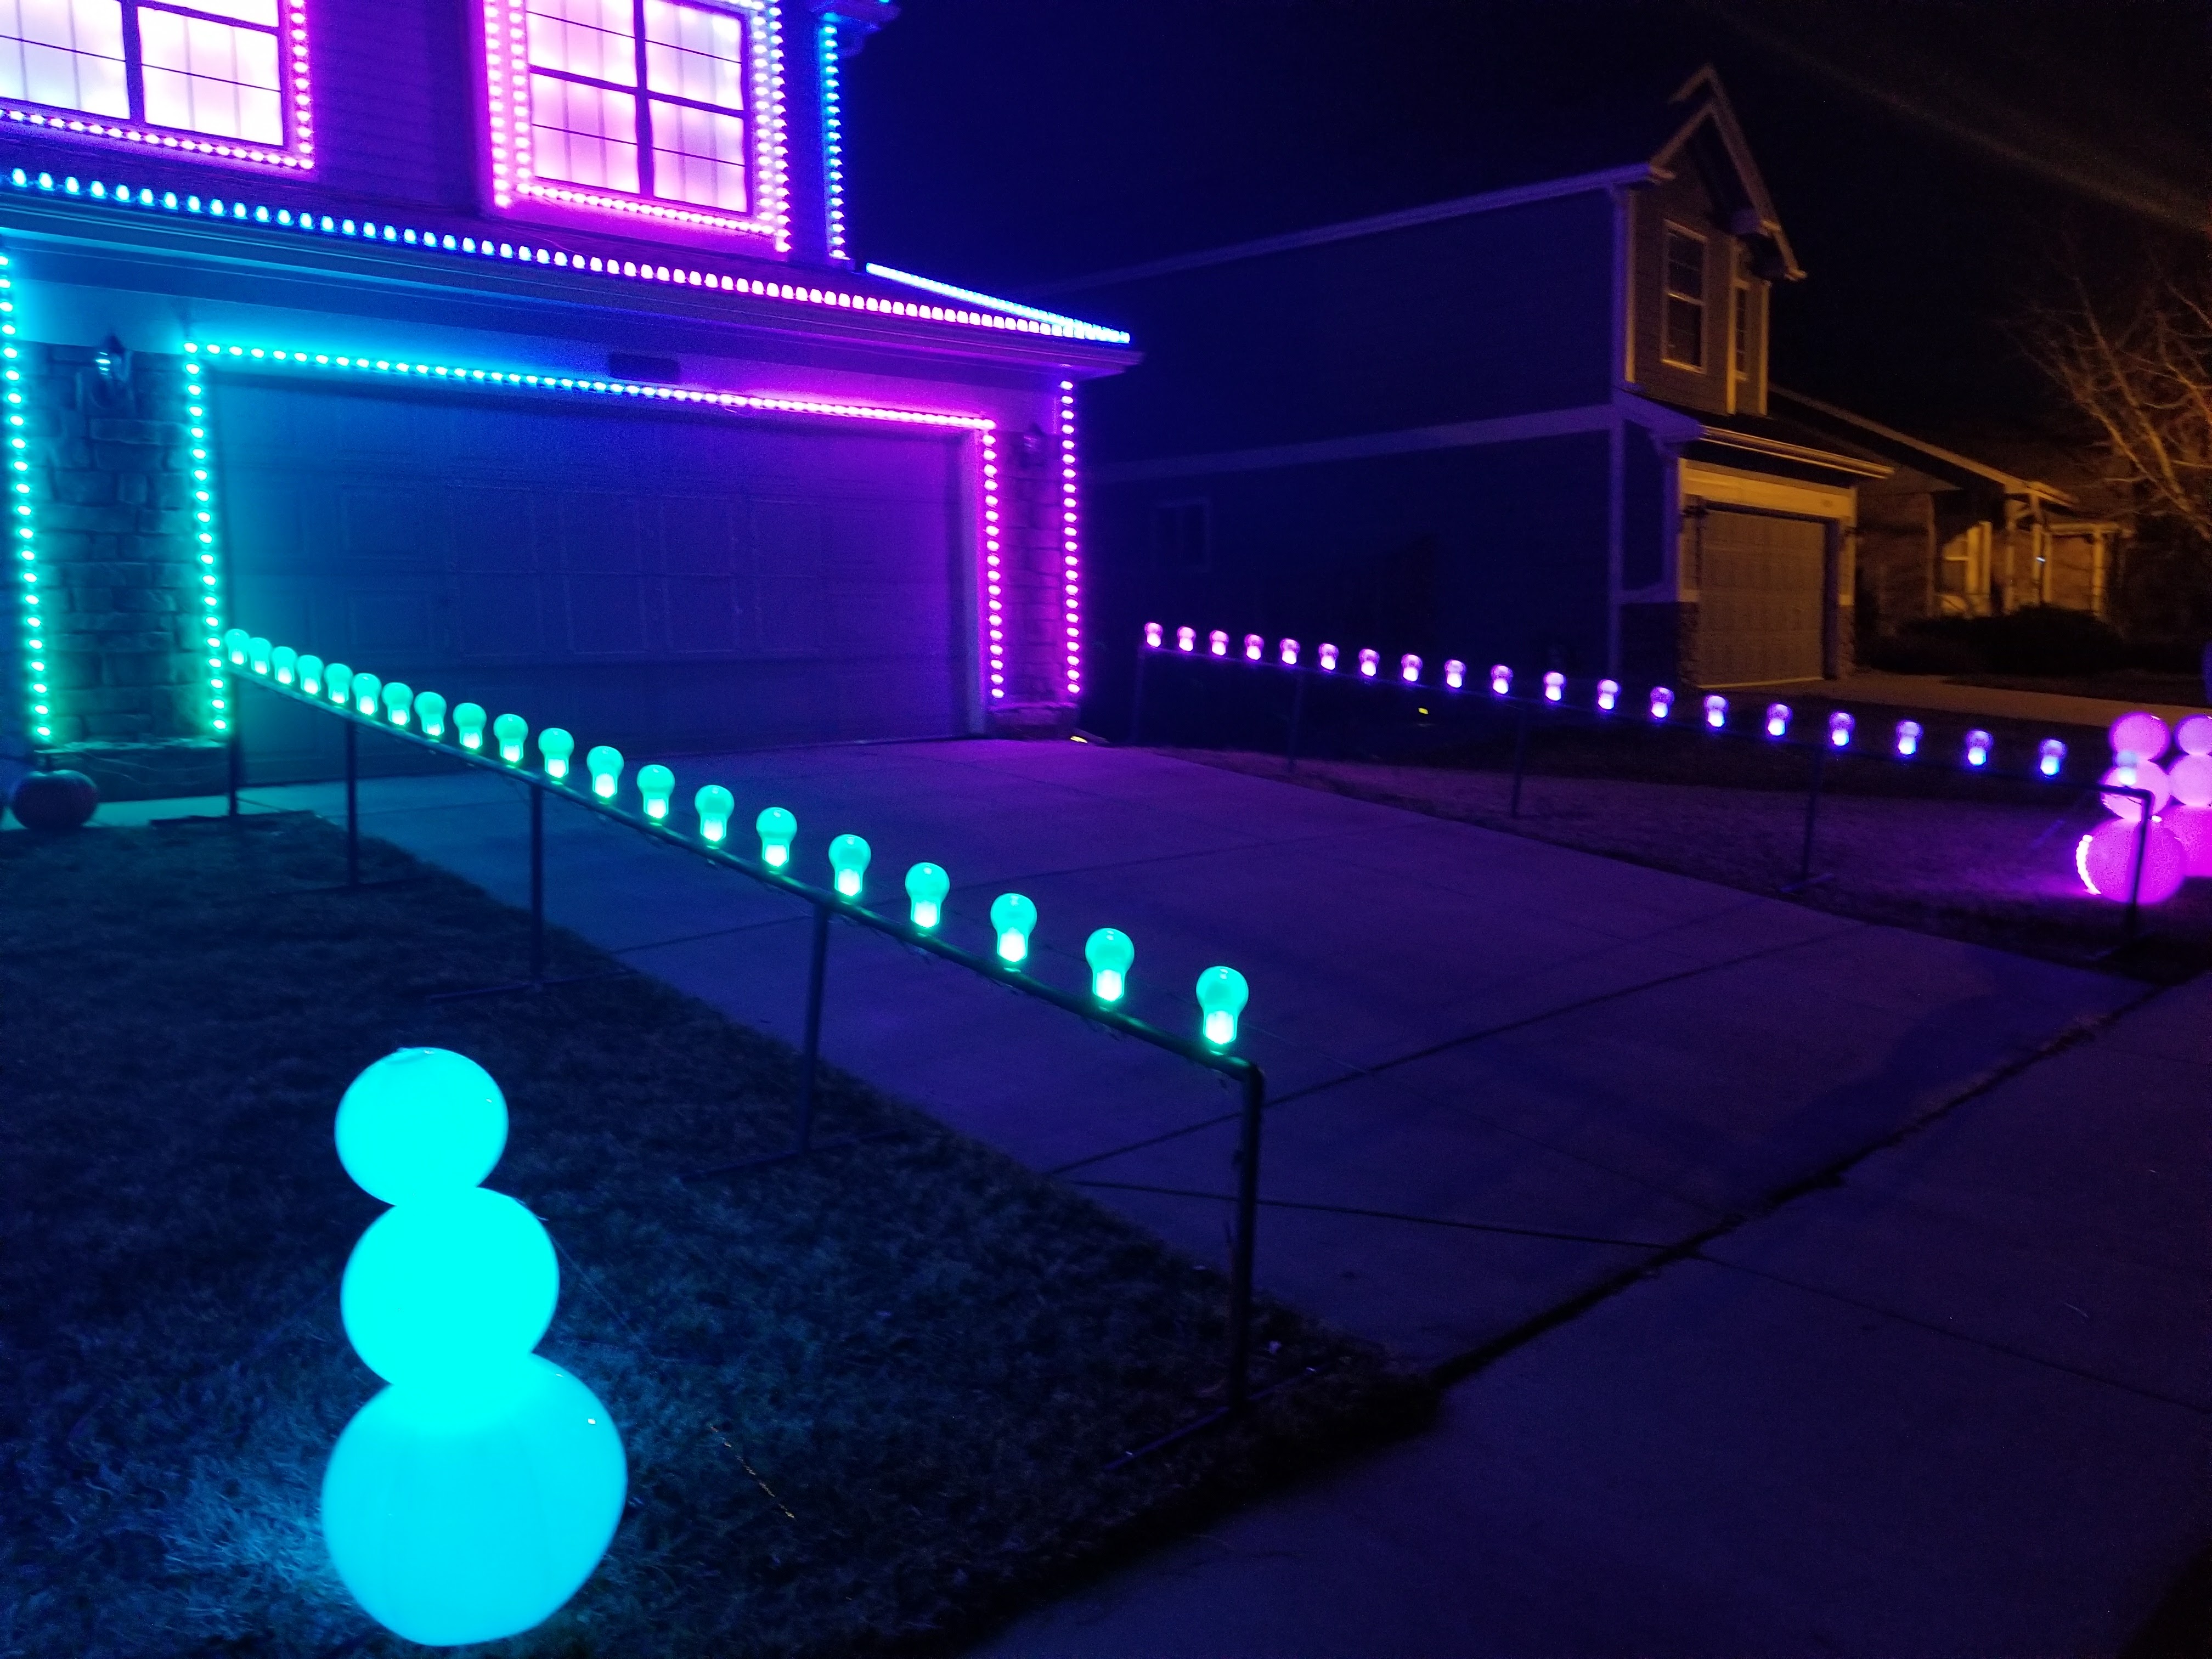
Starting in 2017, we added some lights along either side of the driveway so we could really bring the forward/back dimension into our show instead of everything being constrained to the up/down and left/right dimensions predominant on the house. These lights look like incandescent light bulbs, but are illuminated by a single LED pixel inside.
Preparing the Bulbs
It took some searching, but we finally found an inexpensive light bulb container online for about $1 each. These are actually meant to be party favors and they have a rubber stopper in the mouth so you can fill them with candy or whatever else.
The first step was to remove those stoppers and unscrew the metal thread section so we could paint the bulbs. We used a frosted glass spray paint and applied it in several thin coats to the outside of the bulbs. Bamboo lawn stakes that you can get for a few dollars help a lot when painting 40+ bulbs and for a few hours our front lawn had the most unique lawn art in the neighborhood.
For the most part, the painting process went well, though some of the bulbs came out fairly splotchy. With enough coats of paint, this seems to even out some, but not entirely. Ultimately, once the bulb is illuminated, it doesn’t seem to be noticeable if the finish is a bit different.

Building the Frame
The light bulb rails were a perfect candidate for our favorite building material: PVC pipe. We were able to build both light rails with just eight 10-foot sections of 1.25 inch pipe, 4 elbow connectors, and 16 tee connectors.
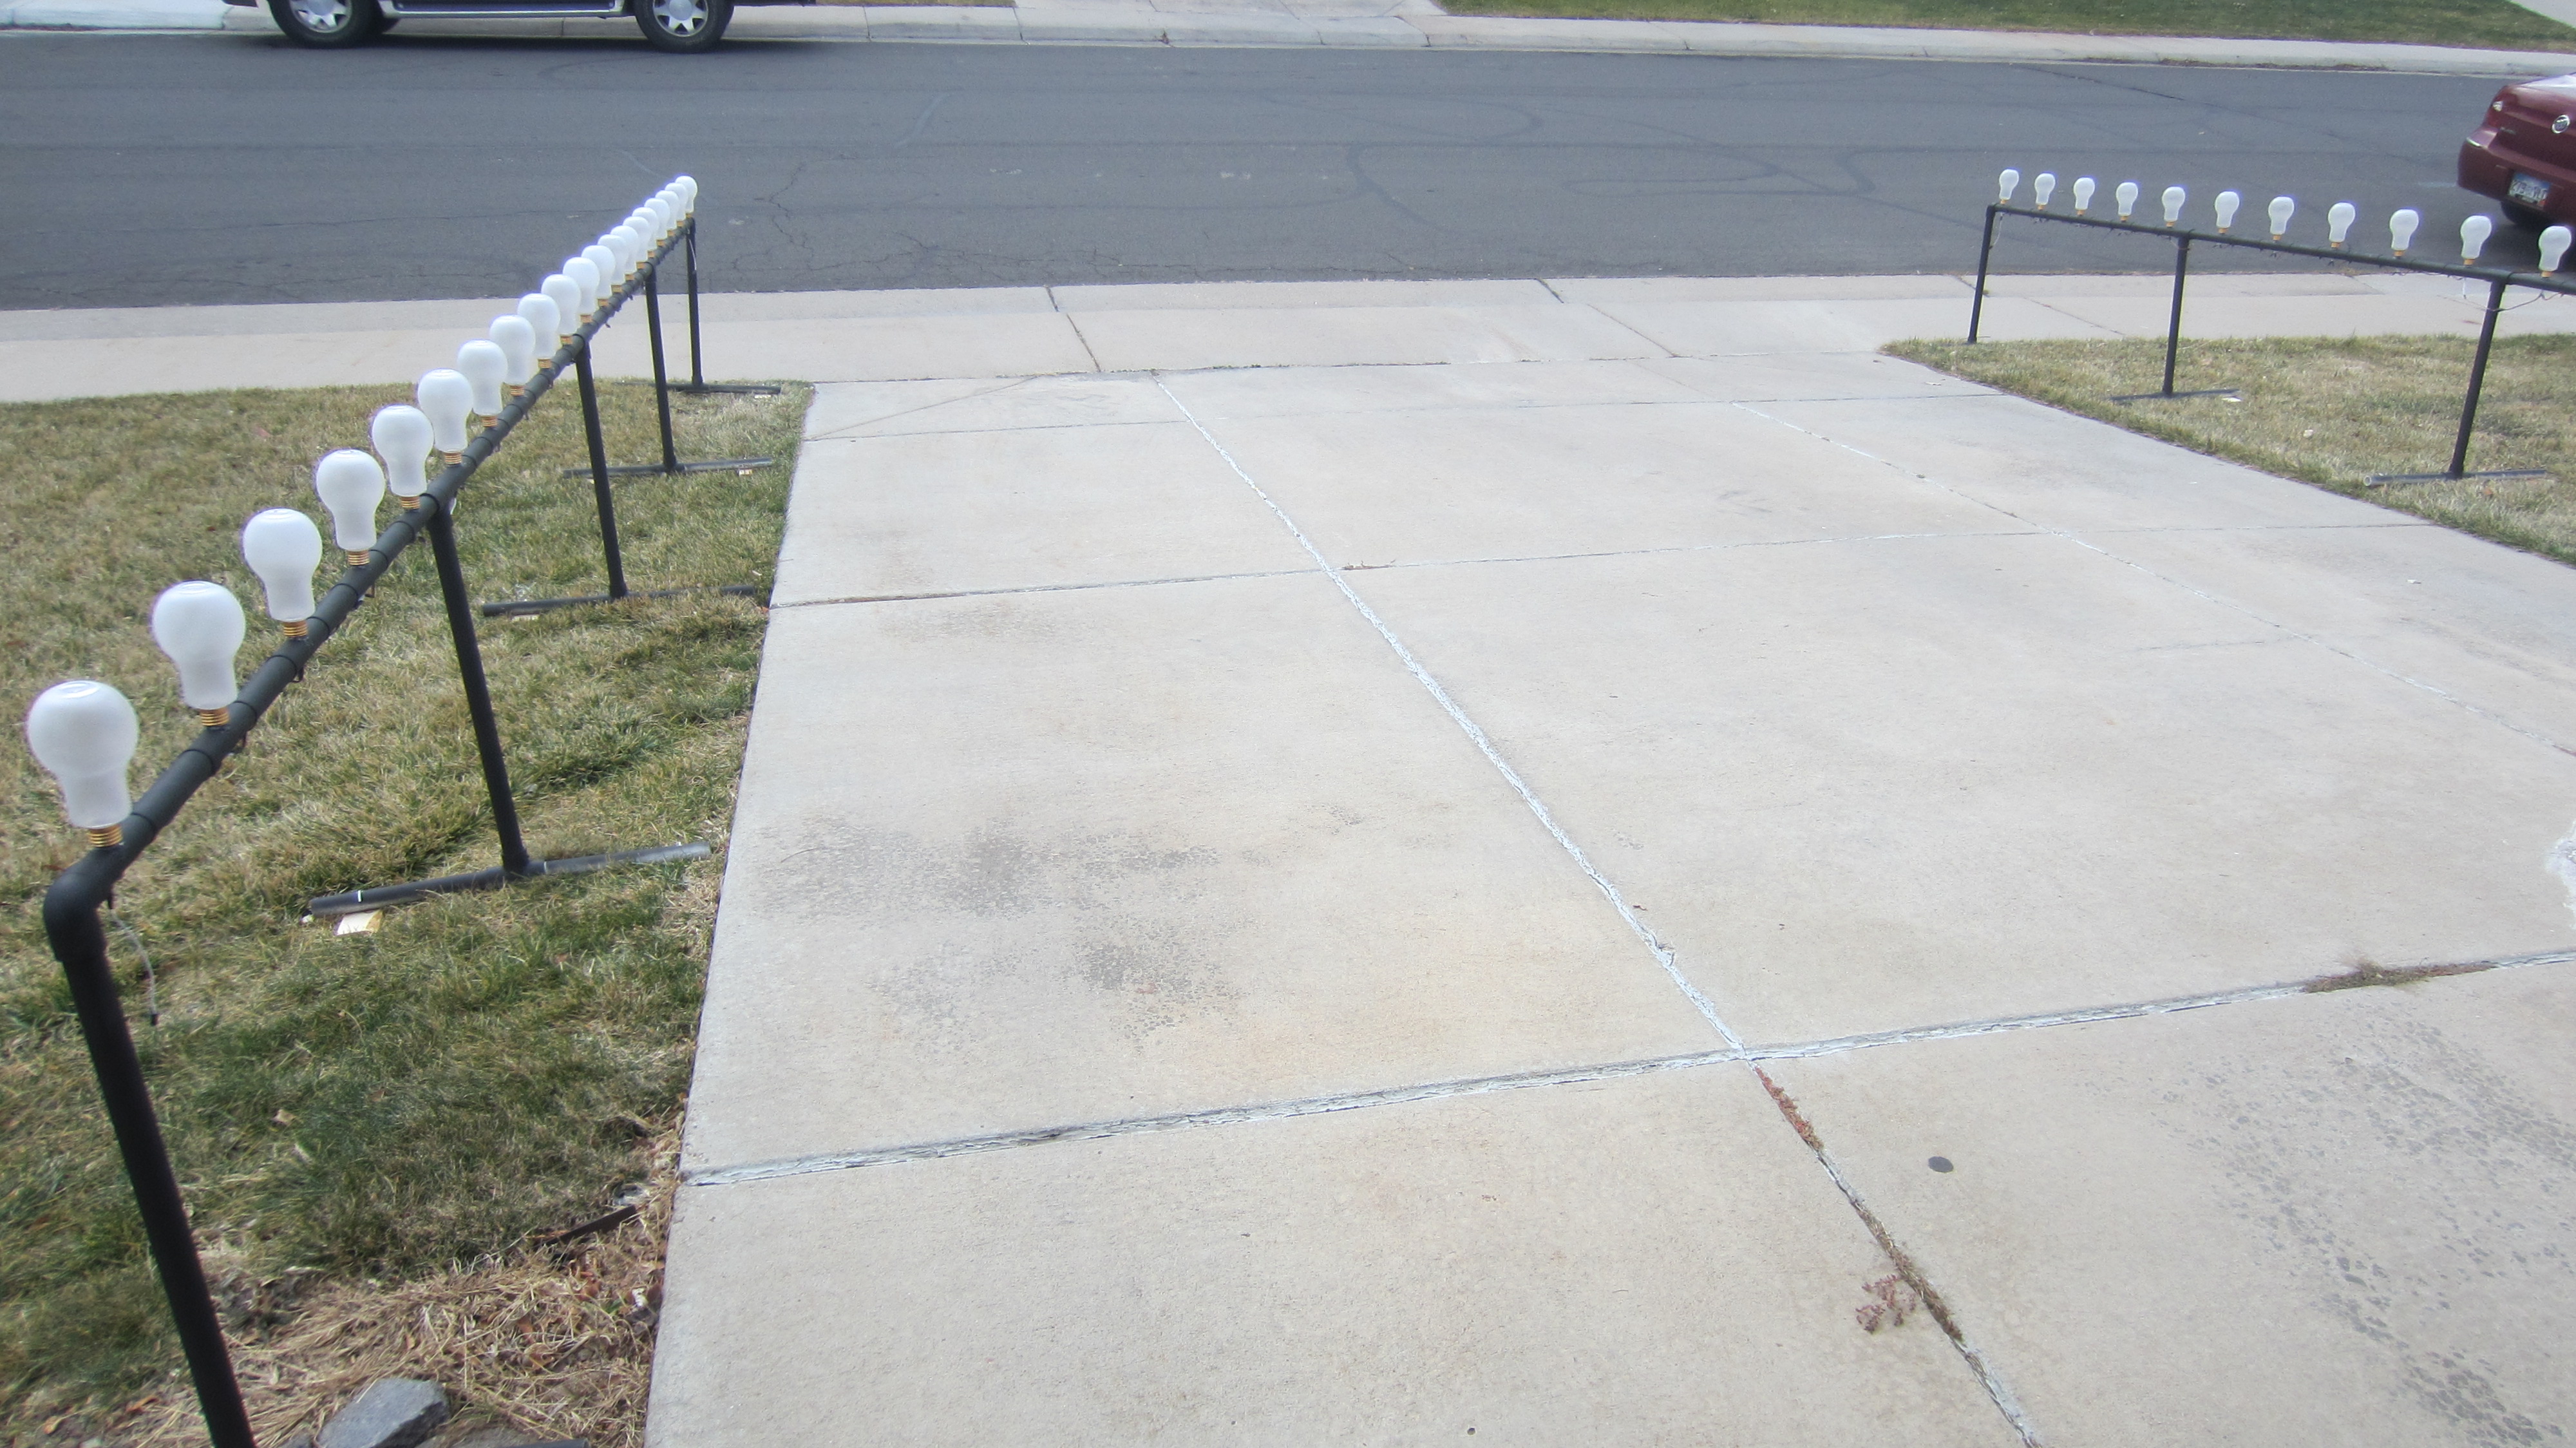
Each rail is made up of four 5-foot sections, held up by five leg assemblies. We cut all of the pipe into 5-foot (4), 2-foot (5), and 1-foot (10) sections and then assembled the parts in our family room (well, technically also in our hallway and our living room…20 feet is a long distance indoors).
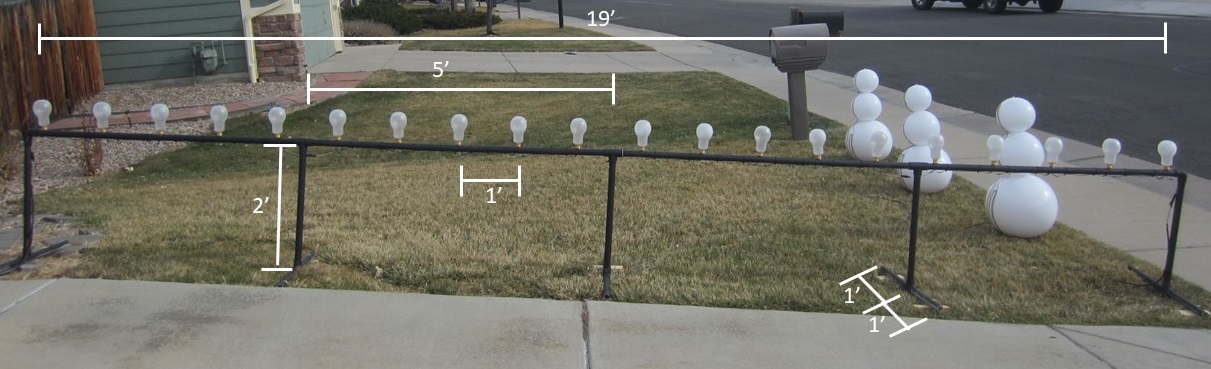
Once we had the frame assembled, we used a tape measure to lay out where each bulb would go at 1-foot spacing. We played around with the start location of the first bulb so we could avoid having any of the bulbs be too close to one of the joints between sections. We found an arrangement that worked and then marked the location of each bulb, which we then duplicated to the sections for the other light bulb rail. Make sure to mark each rail with an identifying number and the correct orientation. This will save hassle later when it comes to assembling the final product. We recommend marking near both ends of the pipe where it won’t be painted over because the connector protects it.
The most challenging aspect of this project was drilling the holes for the pixels. We used a chalk line to line up the drill spots, but this only partially worked. With a cheap Harbor Freight drill press and a crudely made custom jig for keeping PVC pipe from rolling away, we started drilling the 5 holes in each section and this is where things fell apart.
Perhaps a higher quality drill press would have made a difference. As it was, our drill bit kept wandering and despite the holes entering the pipe along the same line, the exit location varied wildly. In general this is fine, as long as the aligned side is ultimately facing up and is where the bulbs mount. We also had several instances of the drill bit biting too hard into the PVC and getting stuck, or chipping the pipe or even breaking the pipe significantly as happened on two occasions. All in all, the drill press was just not helpful so we moved on to using a hand drill and doing multiple passes with increasing bit sizes. This worked well enough but it was still challenging to get the exit points to align.
We didn’t do this in the right order but this is also a good time to drill a small hole near the edge of each of the 1-foot sections that can allow a tent stake to pass through. We forgot about it and had to drill them later. It gets windy in Colorado and we had one of our rails blow over during our trial run of it on Halloween night. Philip was literally 15 seconds away from bringing it in when a gust knocked over the whole rail. Damage was minimal but it did cause a few bulbs to knock loose, which had to be repaired with a bit of hot glue. If we learned anything from doing Christmas lights in windy Colorado, it’s that you should always use more clips and tie downs then you think you need.

Once all the drilling was complete, we assembled the frame once more and set it in the front yard for a couple coats of black spray paint. Incidentally, a patch of grass also got a large dose of black paint in the process. Once dry, we could add in the LEDs and wiring.
The LEDs
Due to the need to stick a pixel up into the light bulb, this project called for a “bullet” pixel. These operate the same as all of the other pixels in our display, but have a form factor with the wires coming out of the bottom of the package. See LED Pixels for more about all the different LED pixels we use.
We cut apart each pixel from our strand of bullet pixels and soldered them together separated by about 10 inches of wire into sets of 5 with connectors on both ends. Four of these sets make up a single light rail. As with all of our wiring and cable making, we used small heat shrink around each of the three individual wires with a larger heat shrink around the whole bundle.
Attaching the LEDs and Bulbs to the Pipes
Hot glue was our friend for this part of the project…and Philip’s enemy on one or two occasions when the glue dripped onto his hands very soon after leaving the gun nozzle. Working one at a time, we pushed each pixel up through both holes until the base of the package was just barely still within the pipe and then pumped a lot of hot glue around it to hold it in place. After the first pixel sets, it’s important to continuously verify alignment of the pixels in all three axes as you attach the subsequent ones. It should go without saying, but also make sure the pixels are oriented with the data line in the correct direction.
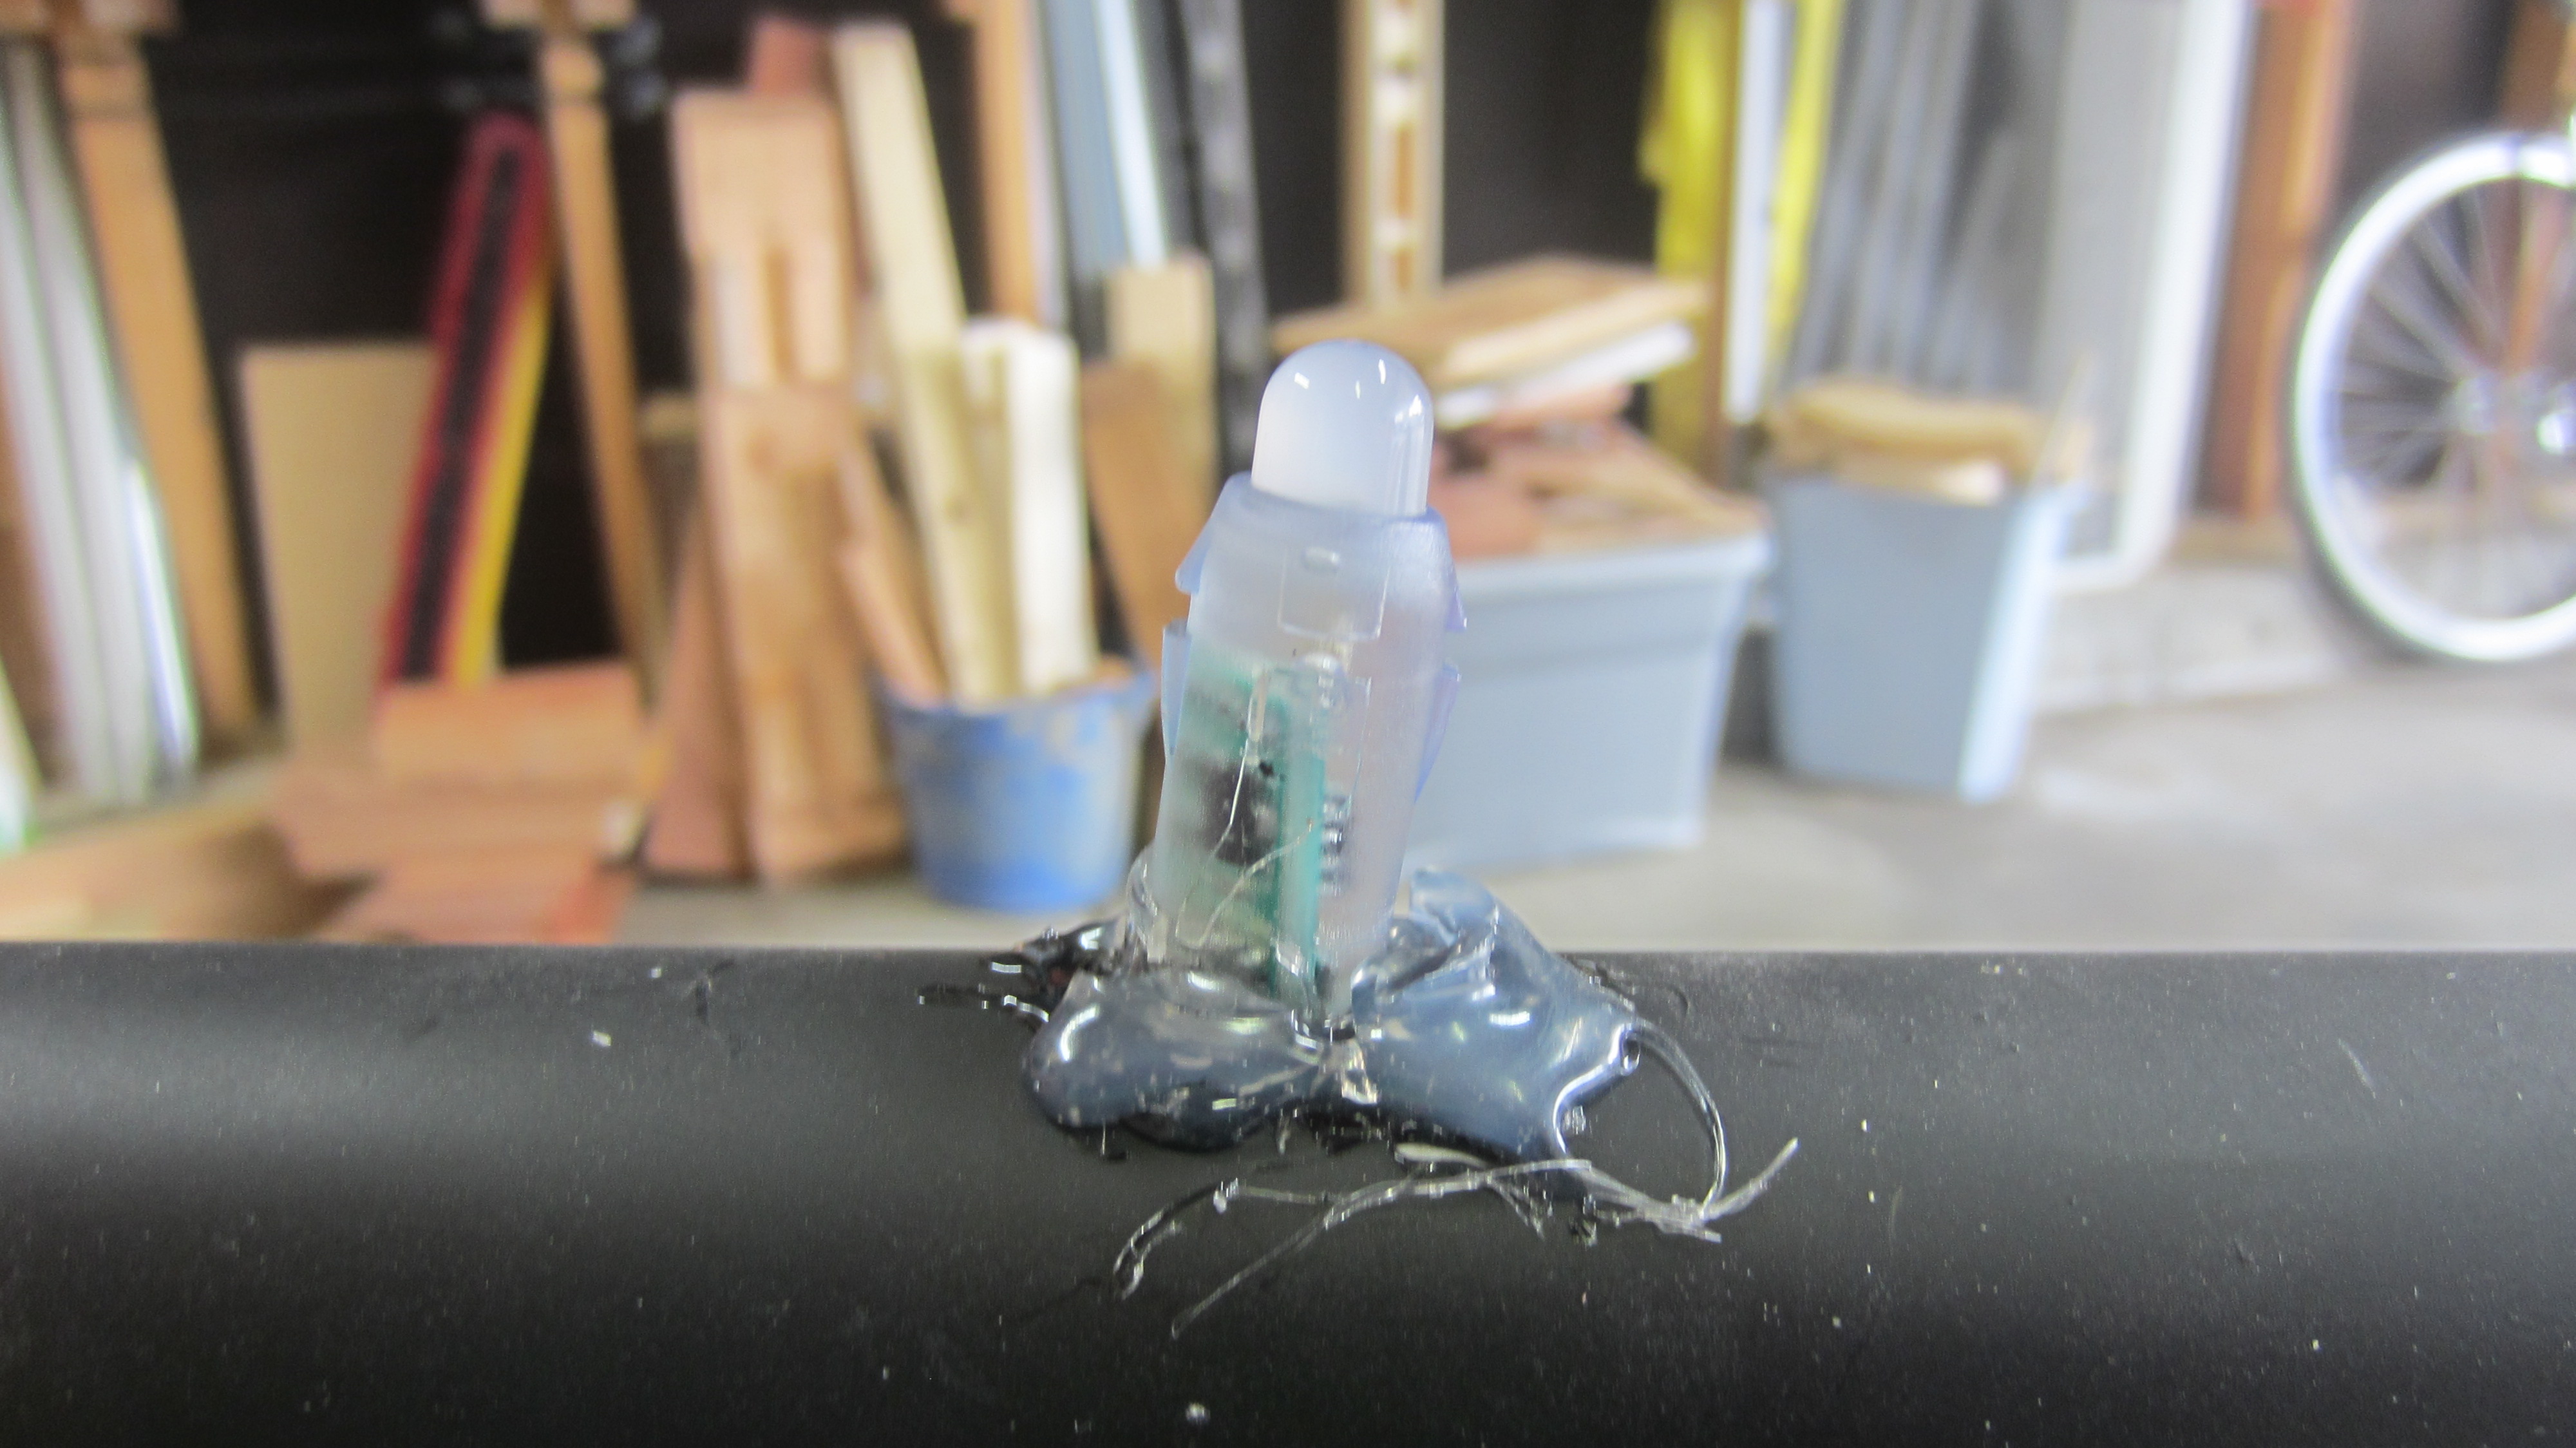
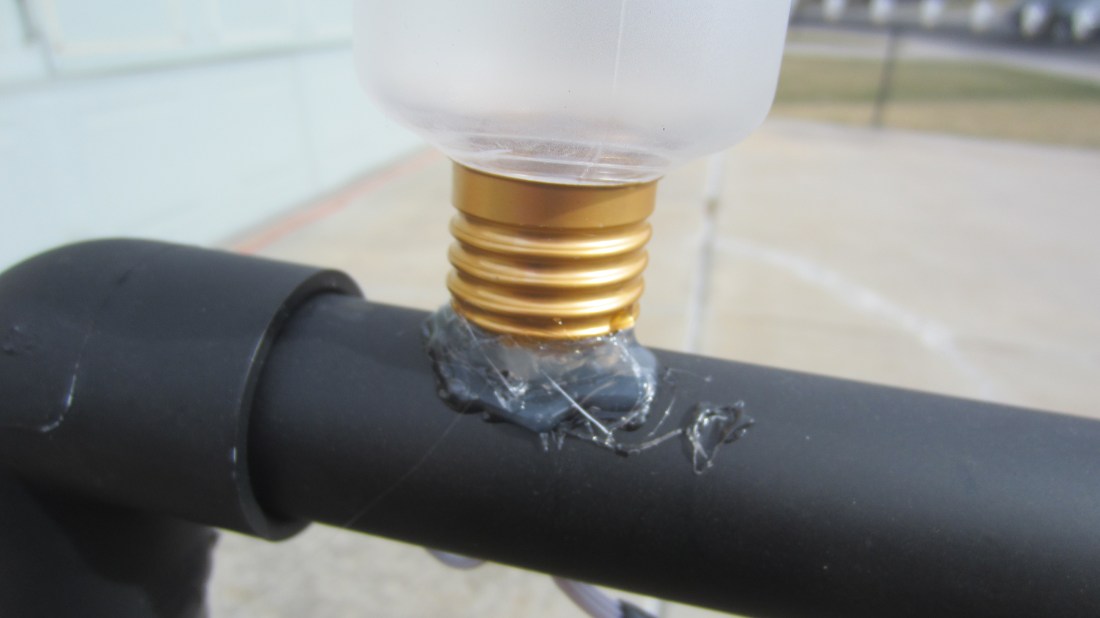
Once the pixels are in place, we screwed the metal threaded section back onto each bulb and carefully pushed a bulb over each pixel. A little bit of hot glue around the base holds them in place. Again, be careful about alignment here too as the hot glue sets. Once all the bulbs were in place, we assembled the frame, plugged together all of the connectors and were able to test each light bulb rail. The final step was to add some black zip ties just to keep the wires from dangling too low.
Powering and Controlling the Light Bulb Rail
Each light bulb rail shares a 12V 30A power supply with the snowmen on its respective side of the driveway. On the tree side of the driveway, they share an ESPixelStick Pixel Controller with their corresponding snowmen. On the mailbox side, we actually use a Sandevices E682 Pixel Controller. See the LED Snowmen page for diagrams showing how the two elements are wired.
